Book Your Roofing Service Today
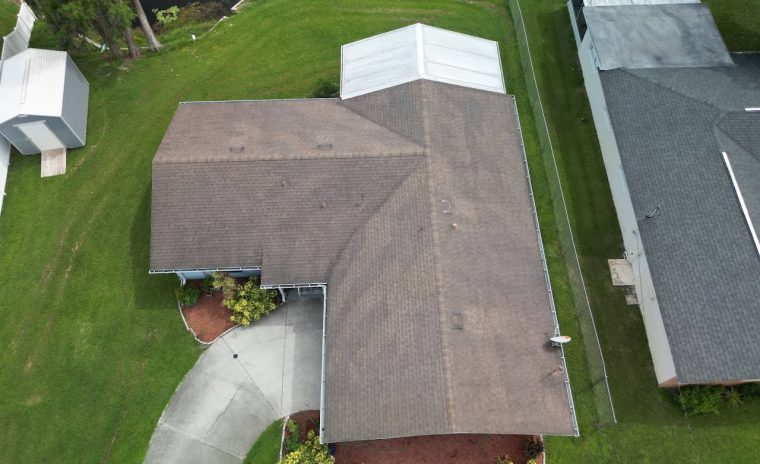
Before You Start: Understanding Your Roof’s Condition
Before you grab your ladder and toolkit, take a moment to honestly assess what you’re dealing with. In St. Petersburg, the combination of intense UV exposure, salt air from Tampa Bay, and seasonal storm activity means roofs age differently than in drier climates. A shingle that looks slightly curled might actually be brittle enough to crumble under your weight.
Walk around your property and look up. Are you seeing a few isolated damaged shingles, or do entire sections appear weathered? Is the damage limited to the surface layer, or are you noticing sagging areas that could indicate structural problems underneath? Most importantly, can you safely access the damaged area without putting yourself at risk?
DIY repair makes sense for small, localized problems: a handful of missing or cracked shingles, minor flashing issues around vents, or simple sealant fixes. But if you’re looking at widespread damage, areas near valleys or ridges, or anything that involves structural work, it’s time to call in professionals. Our team at B. Griffith Roofing Inc. offers free inspections throughout Clearwater, Tampa, and Largo, helping homeowners understand exactly what they’re facing before making any decisions.
Step 1: Safety First, Always
Roofing remains one of the most dangerous home improvement tasks. In Florida’s heat and humidity, the risks multiply. Shingles become slippery when damp from morning dew, and afternoon thunderstorms can roll in with little warning during summer months.
Invest in proper safety equipment before you start. You’ll need a sturdy extension ladder rated for your weight plus tools (at least Type I, 250-pound capacity), roof brackets or a safety harness system, non-slip shoes with good tread, and someone on the ground to spot you. Never work alone, and never work in wet conditions or when temperatures exceed 90 degrees, as heat exhaustion happens faster than most people realize.
Check your ladder’s condition carefully. Salt air corrosion is real in coastal areas like St. Petersburg and Palm Harbor. Inspect rungs for weakness, ensure your ladder extends at least three feet above the roof edge, and maintain three points of contact when climbing. If your roof pitch exceeds 6:12 (six inches of rise per foot of run), or if you’re uncomfortable with heights, this is where you stop and contact us instead. Professional roofers have fall protection equipment, training, and insurance that protect both them and your property.
Step 2: Gather the Right Materials
Using the wrong materials turns a simple repair into a future leak. Take photos of your existing shingles in good lighting and bring them to a local supplier. Shingle color and style matter more than you think, not just for appearance but because mismatched shingles can have different expansion rates and lifespans.
For a basic shingle repair, you’ll need: replacement shingles that match your existing roof, roofing cement or sealant rated for Florida’s heat (some adhesives fail above 140°F, which roof surfaces routinely reach in summer), galvanized roofing nails (1.25 inches for standard shingles), a flat pry bar, a utility knife with hook blades, a caulking gun, and a trowel or putty knife.
Buy a few extra shingles beyond what you think you need. Once you start removing damaged ones, you might discover additional problems underneath. Quality matters here too. Budget shingles might save you $20 today but fail within two years under Tampa Bay’s intense sun exposure. If you’re unsure about material selection, our team can help you identify exactly what your roof needs. We work with every major manufacturer and understand which products hold up best in our specific climate. Sometimes the difference between a repair that lasts two years versus ten comes down to choosing materials designed for Florida’s unique weather patterns.
Step 3: Remove Damaged Shingles Carefully
This step requires patience and a delicate touch. Asphalt shingles are layered and interlocked, meaning the damaged shingle you see is actually held in place by the row above it. Rushing this process leads to breaking good shingles around the damaged area, turning a three-shingle repair into a twelve-shingle project.
Work on a mild day, ideally between 60-80°F. Shingles become brittle in cold weather and overly soft in extreme heat. Carefully lift the edges of the shingles in the row above your damaged area using your flat pry bar. You’re looking for the nails holding the damaged shingle down, usually four to six per shingle. Slide the pry bar under the shingle above, locate each nail head, and gently pry upward to release it. Remove all nails completely rather than leaving partial nails that can tear new shingles later.
Once the nails are removed from both the damaged shingle and the shingle above it (which overlap the damaged area), slide the old shingle out. Inspect the underlayment, the black felt or synthetic material beneath the shingles. If it’s torn, cracked, or shows water staining, you’ve found evidence of a leak that goes deeper than surface damage. At this point, the repair needs professional attention. Water damage spreads horizontally under shingles before showing up inside your home, meaning visible interior stains often indicate extensive hidden damage. Our roofing repair services include moisture detection and proper underlayment replacement, preventing small leaks from becoming major restoration projects.
Step 4: Install New Shingles Correctly
Installation technique determines whether your repair lasts one season or ten years. Start by sliding your new shingle into place, aligning it precisely with the surrounding shingles. The tabs should line up exactly, and the shingle should sit flat without buckling or gaps.
Nail placement is critical and frequently done wrong. Position nails about six inches from each end and one inch above the tabs, hitting just below the adhesive strip on the shingle above. Never nail through the adhesive strip itself. Use four nails minimum, six for high-wind areas (which includes most of coastal Florida). Drive nails straight in, flush with the shingle surface but not overdriven. Nails that penetrate too deeply create dimples that collect water, while nails left protruding will tear through shingles during the next storm.
After nailing, lift the shingles in the row above and apply a quarter-size dab of roofing cement under each tab, pressing firmly to bond. This hand-sealing step is essential in Florida, where afternoon winds routinely exceed 30 mph even outside hurricane season. The factory adhesive strip works well in moderate climates but needs reinforcement in areas like Pinellas Park and Seminole where wind-driven rain is common. Press down firmly for 30 seconds to ensure good contact. If you’re working on a roof that’s more than 15 years old, consider that all the surrounding shingles are nearing the end of their lifespan too. Patchwork repairs on aging roofs often become a cycle of constant fixes. A full roof inspection can help you understand whether targeted repairs make financial sense or whether replacement is more cost-effective long-term.